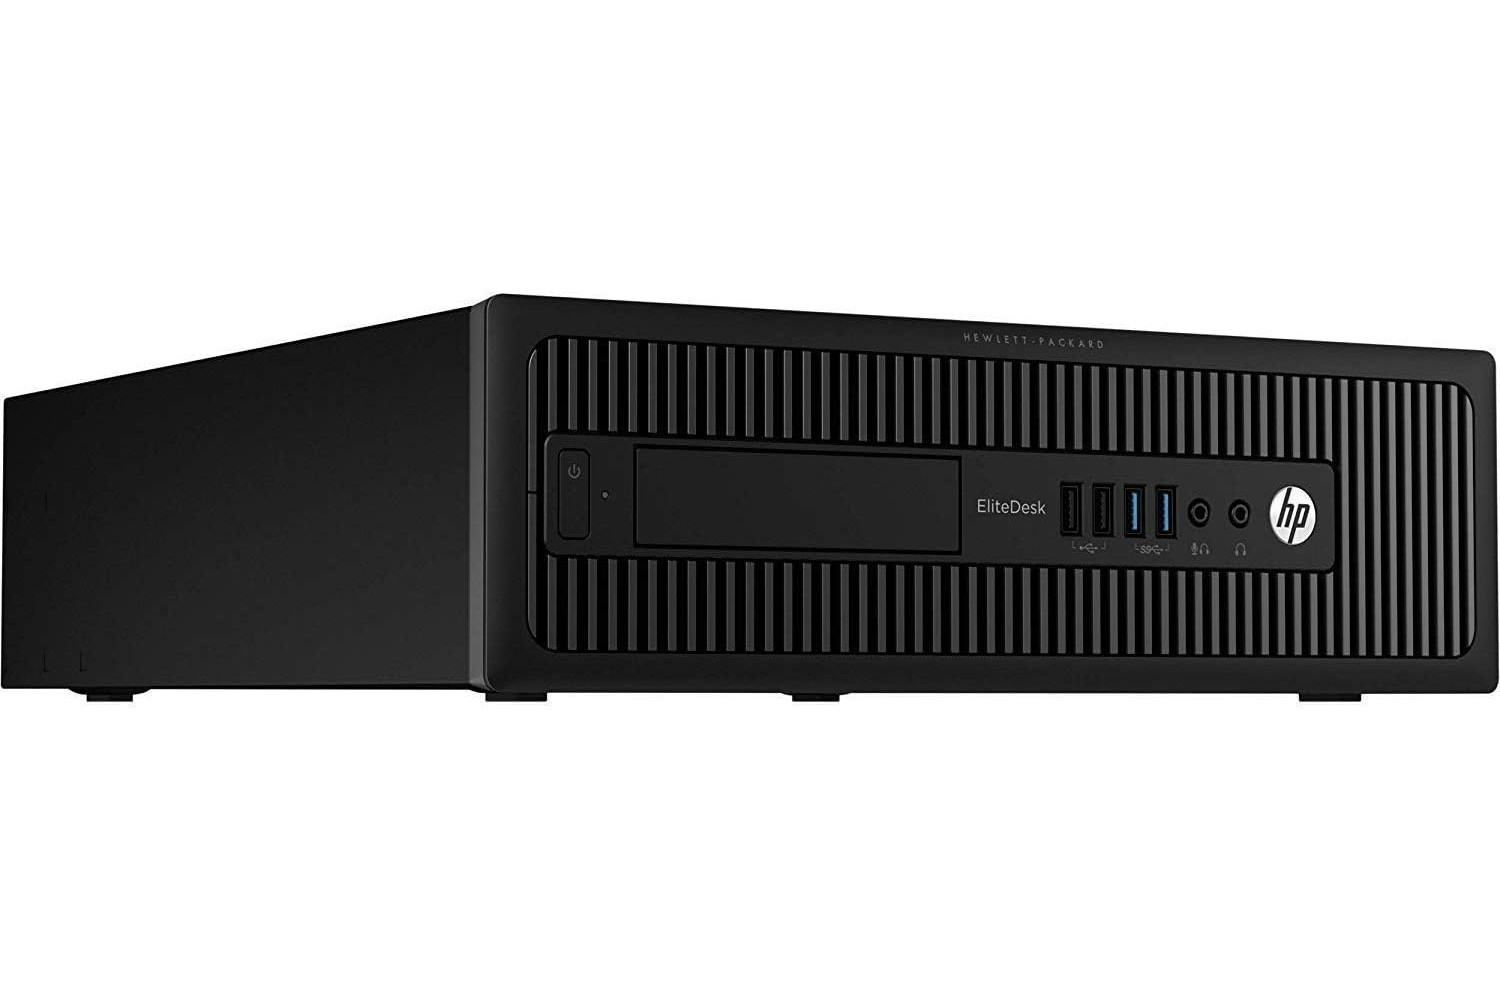
This is how I tried to fit RX5600TX into Elitedesk G1 800. And why is this a Pyrrhic victory at the end?
For whom who likes some history, please check:
https://en.wikipedia.org/wiki/Pyrrhic_victory
Thoughts
I like HP elitedesk G1 800 a lot. It is compact and durable. Also I feel very comfortable using it under my monitor. Since i am a little long (1.95cm / 6.4″), I always need to uplift my monitor a little. And I don’t have a decent monitor stand right now.
Build quality is phenomenal. It has a cooler master CPU fan. Very silent cpu fan and psu fan. Durable motherboard. But it is old.
Technical specs of my Elitedesk:
- Intel® Core™ i5-4590 Processor
- 1150 pin motherboard with 2x PCIE-16x (V:3.0)
- 16GB DDR 3 Ram
- Internal speaker
Pros:
- Durable in both electronics and case
- Silent fans
- Slim and good looking case
- Cheap in second hand market
Cons:
- Slim case needs low profile graphics cards
- Psu is too weak to handle a large GPU
- Motherboard is old. Does not have support for M2 SSD.
- Does not have WIFI onboard
So what could be done to upgrade it?
I did not had the budget at the time in past months. So I decided to look into things I could do. I already had a left over Sapphire AMD Radeon RX5600 TX from my past crypto mining rigs. It’s PCIE V:4.0 but it should work ok with this motherboard. But case and PSU is not enough.
If you could move your hardware into another computer case it solves the problem. And I recommend doing it.
I needed a faster SSD, and m2 extension cards does not support BOOTING form m2 SSD in this motherboard. BIOS does not support it. I built a new pc after this trial. But if you are still wish to upgrade your HP Elitedesk, please continue to read.
The build
First you need more powerful PSU. And standard PSU does not fit into this case. I just added new psu alongside my case and moved cables into case from the opening left from it’s own psu after I removed it.
HP motherboard does not have standard ATX power inputs. So you need a converter cable from internet.
This is a 24pin to 6pin atx power converter cable.
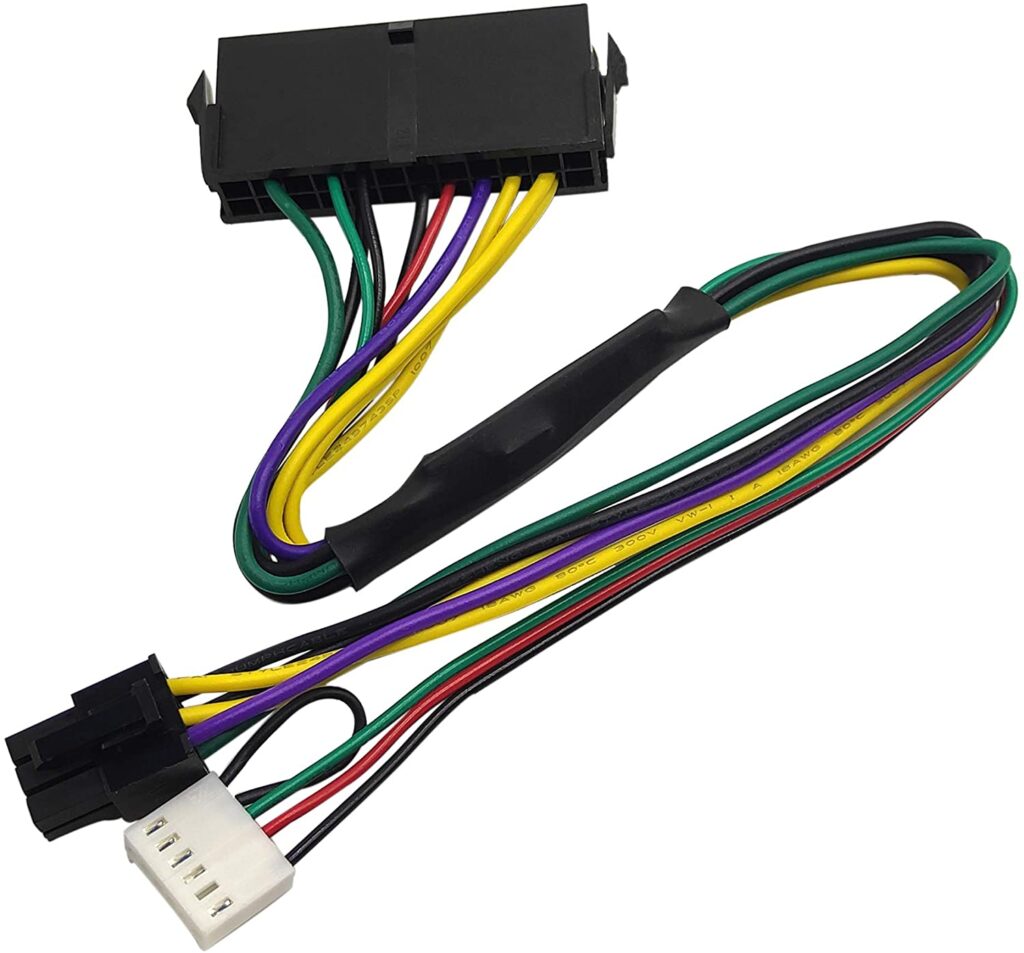
You can buy it from any website. I brought it from aliexpress.
You need to remove disk tray and PSU from case. You just need to pull it out. That space gives enough room to place your GPU into case.
Also you need a full size riser cable for GPU
Full Size PCIE 16x Riser Cable
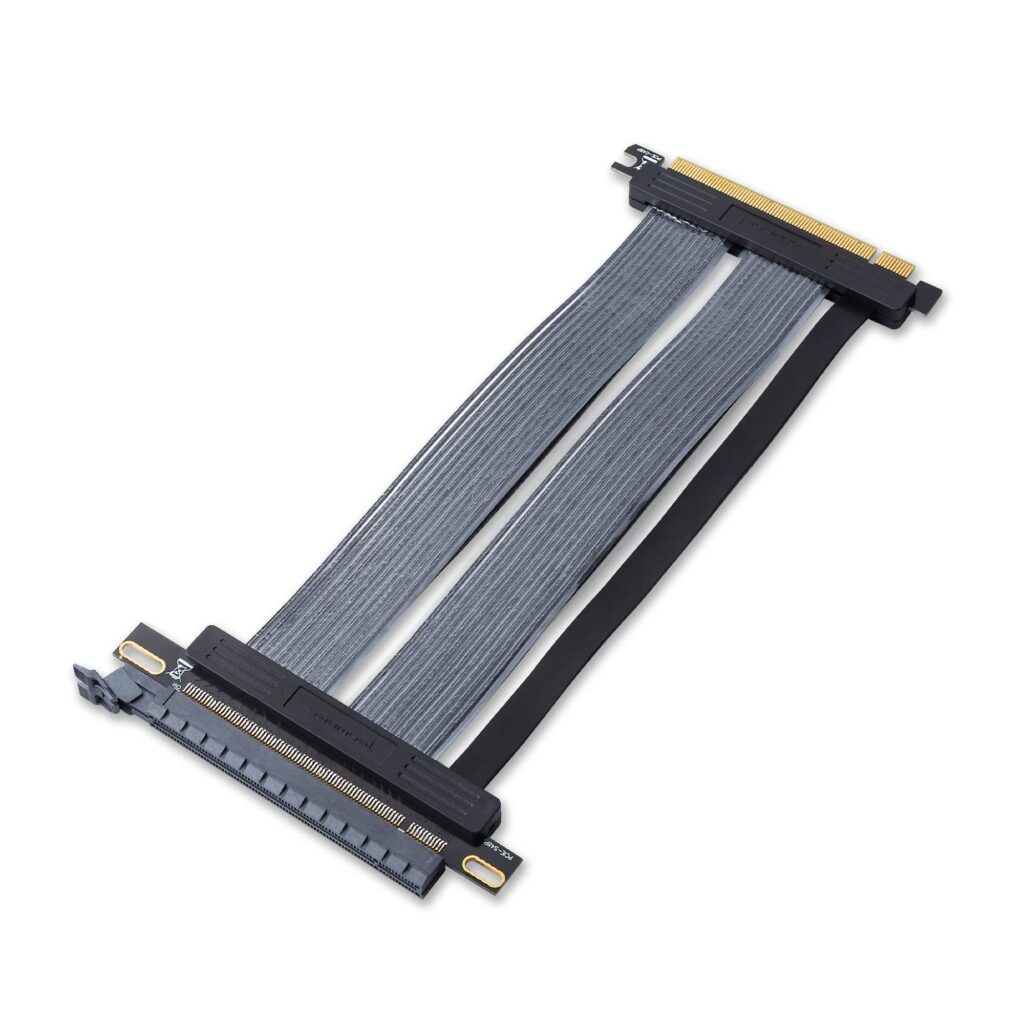
Now i collected any hardware required. And decided to design and print parts with my 3d printer.
GPU Holding Bracket
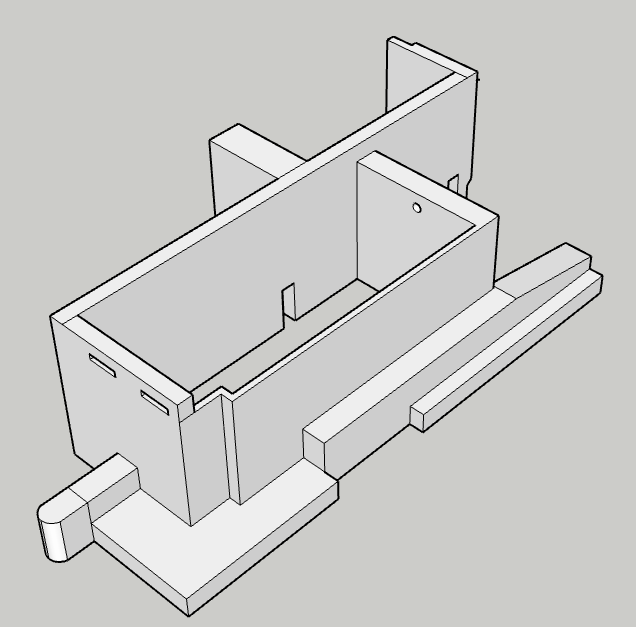
2.5″ HDD – SSD Holder
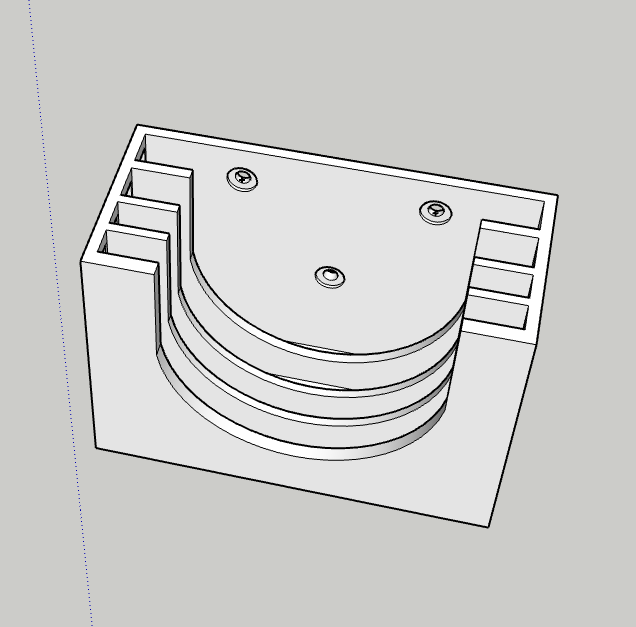
GPU Rear side holder and Fan Brackets
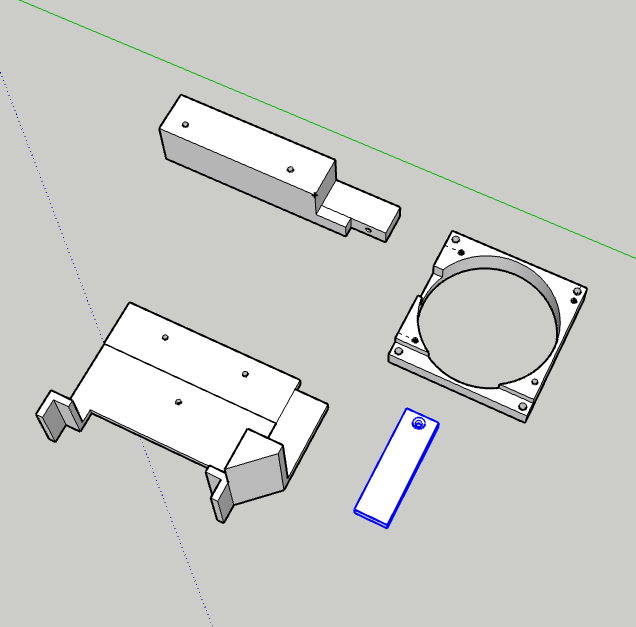
Designed and printed those parts. I used two 8cm fans to cool case from front to rear.
Complete Case
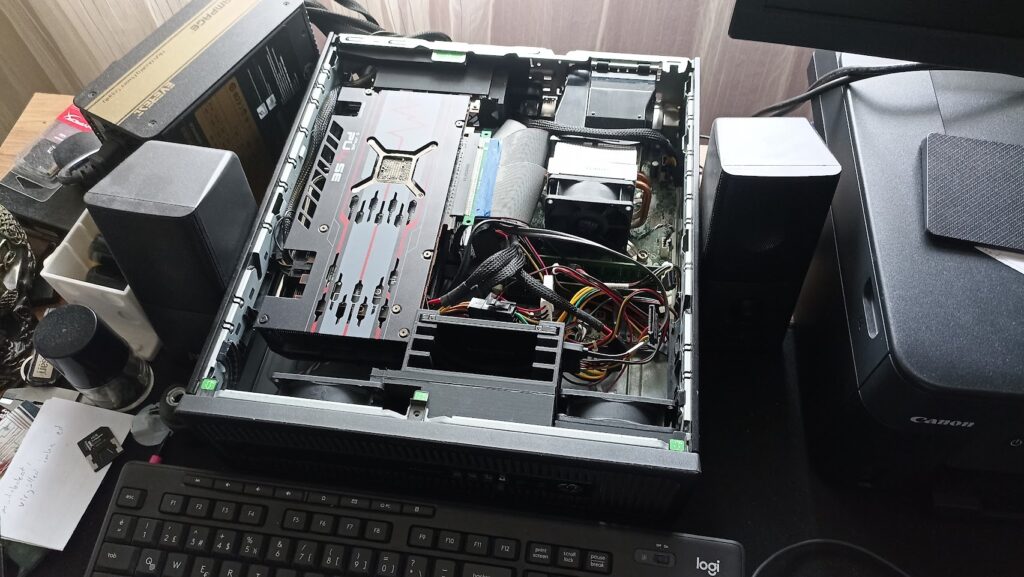
Some other pictures
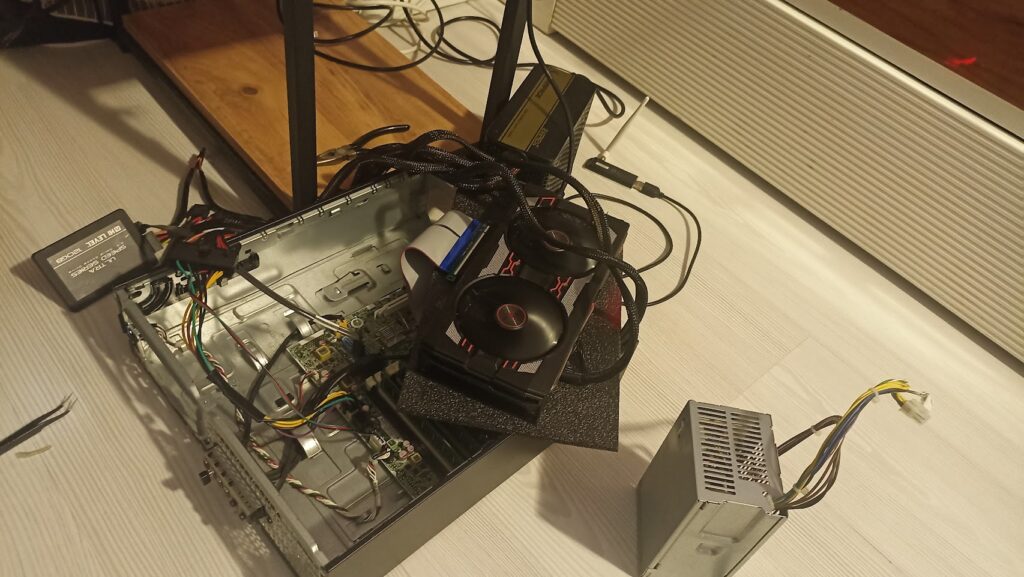
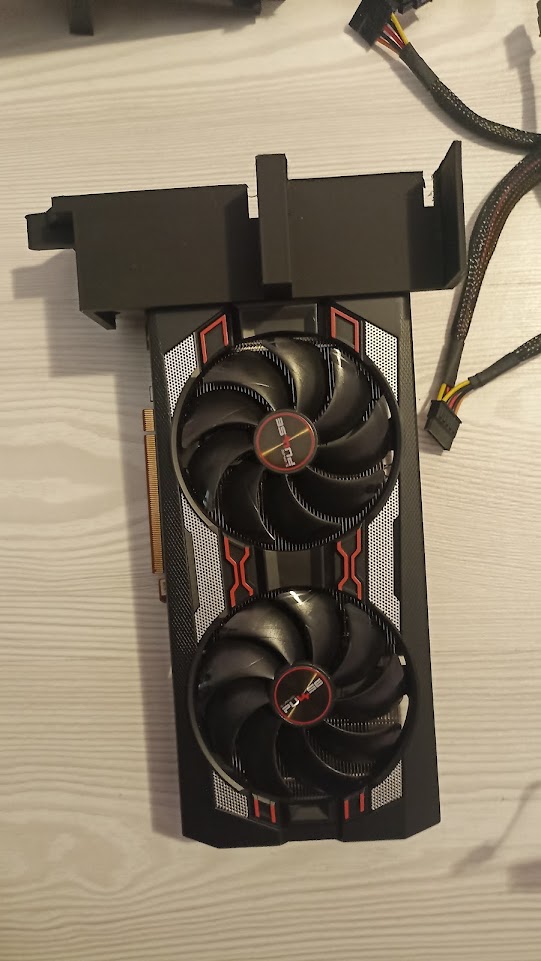
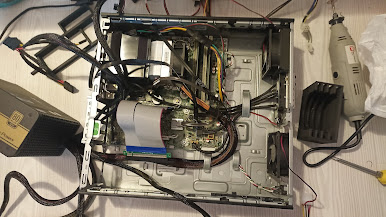
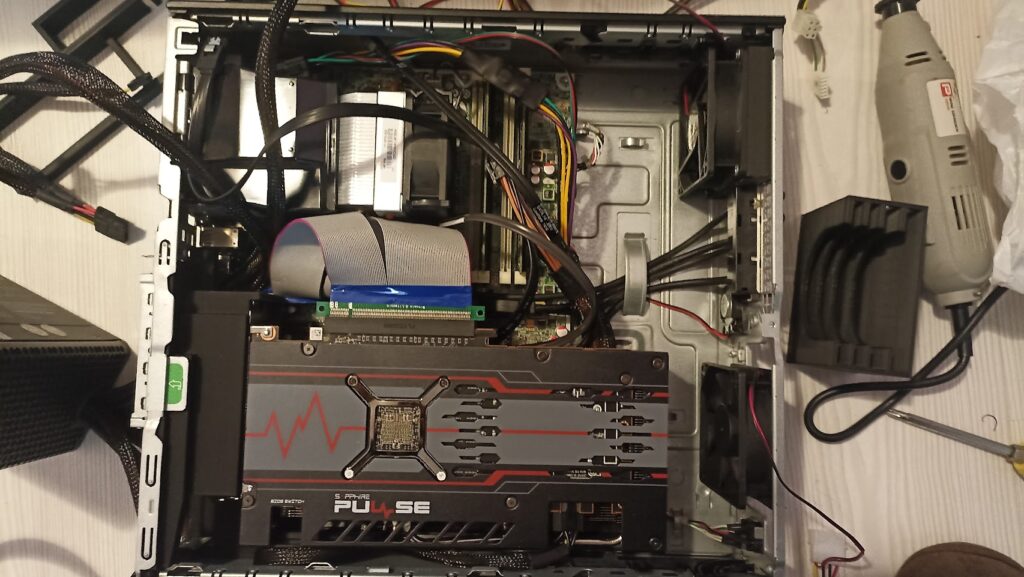
3D Design files which i made
Download and feel free to use my 3d files for this build.
Conclusion
Even the project was a success. I’ve lost the silence which I appreciate very much. So I decided to buy a modern system. And now I have M2 SSD. You are free to build this setup! Everything worked well enough. Even cooling is almost sufficient. I have tested with some games and FurMark. It’s cool enough. But having PSU outside of PC case was somewhat ugly.
Feel free to ask anything from comments.
Thank you for reading until the end!
